To Top
E3: Greenscreen Exercise (15/10/2020)
Exercise 1: Maya Animation Basics (28/10/2021)
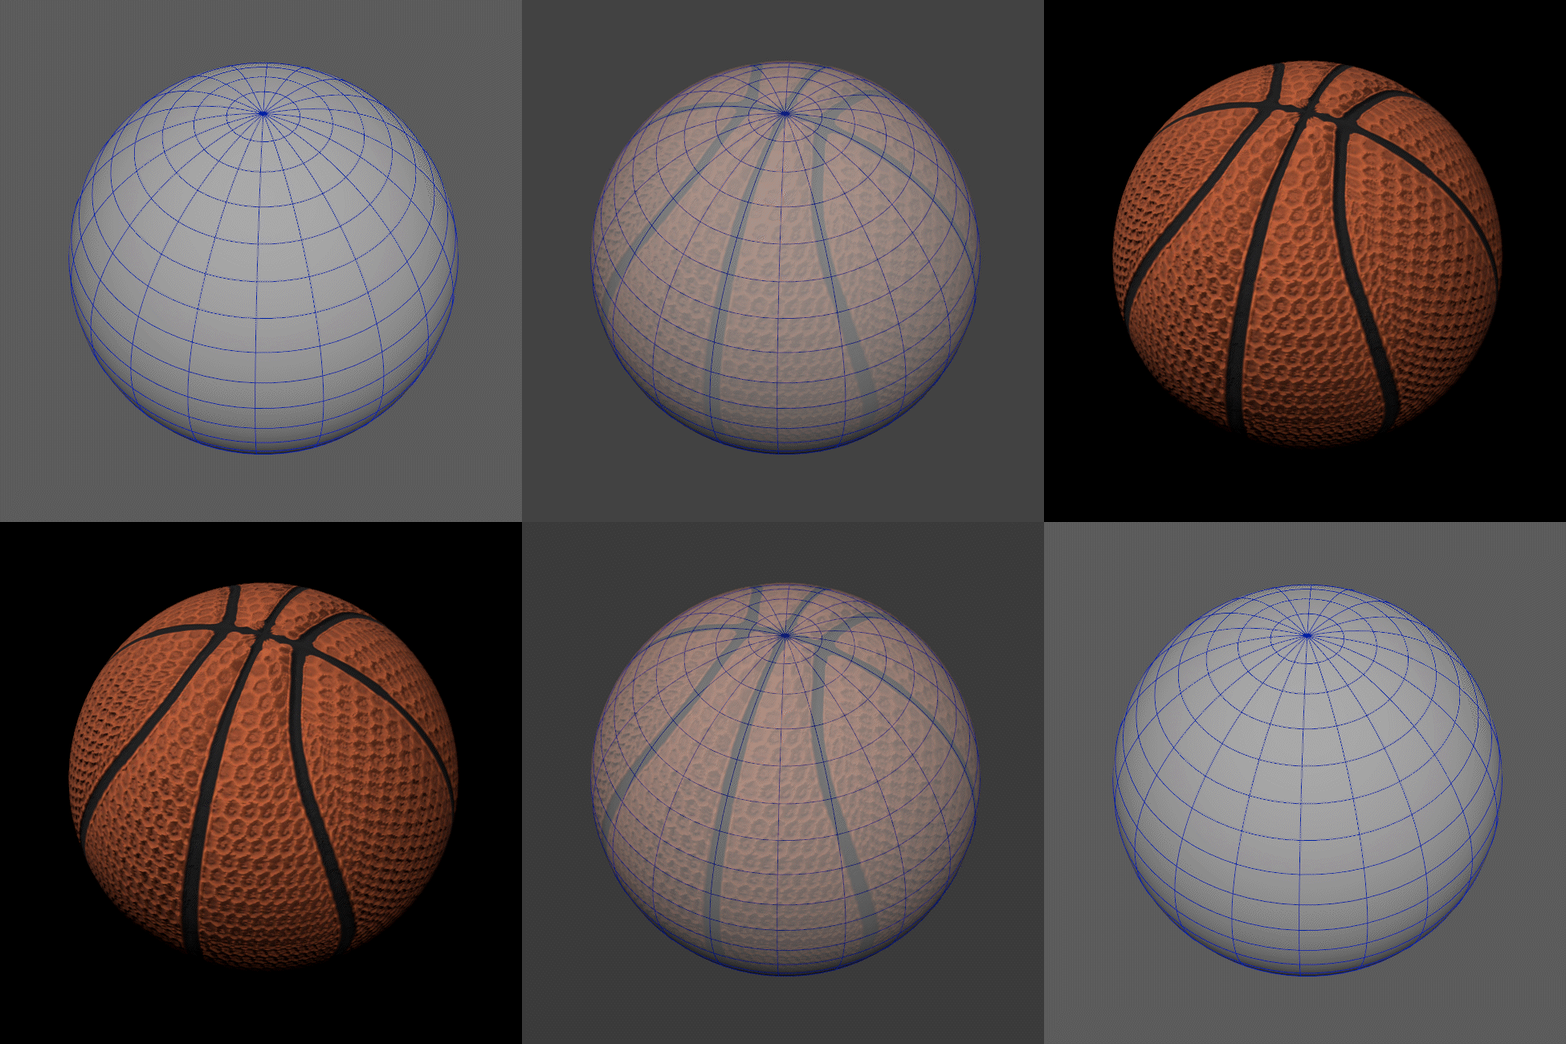
Bouncing in Place
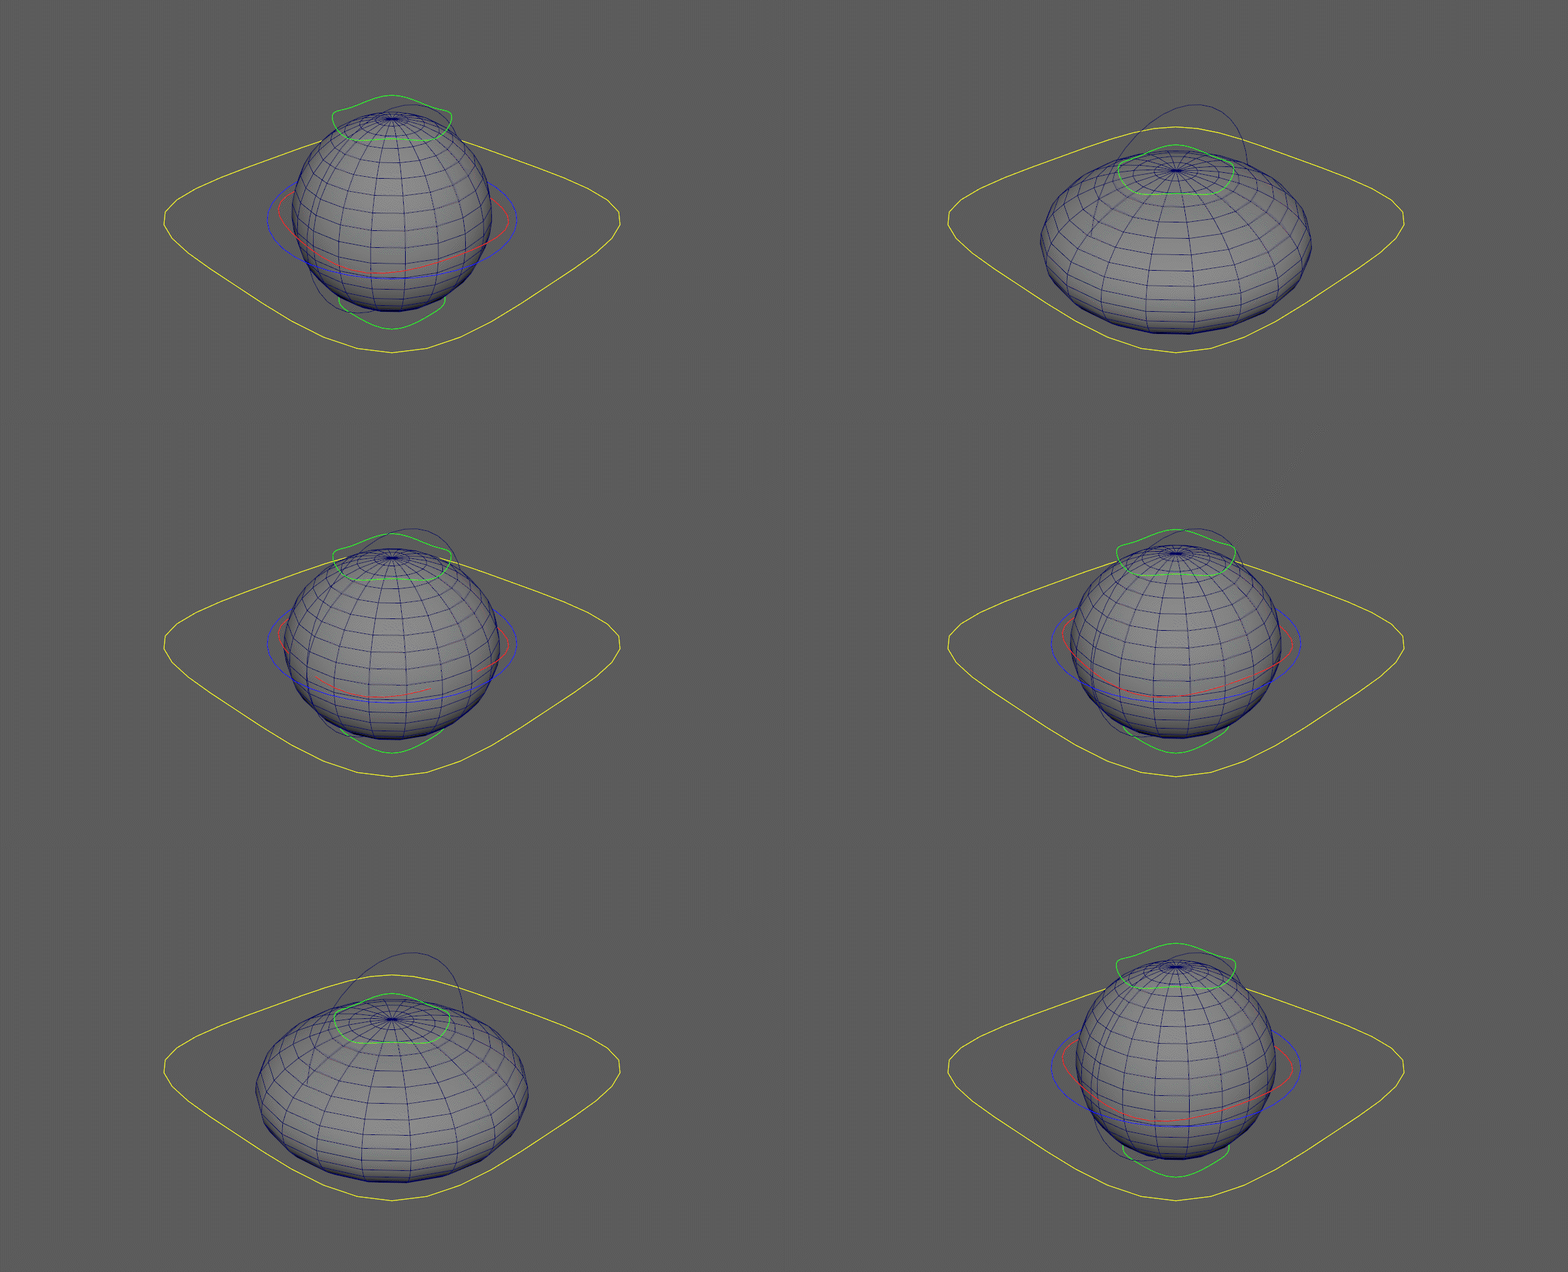
I used this animation to better show off the Squash & Stretch effect possible with this Rig.
This was the simpler animation.
To start, I used the parent control to move the ball up and down, then used the Squash and rotation controls to make the animation more dynamic and add a feeling of speed and weight.
Note than although the ball is textured like a basketball, it's not animated to imitate the characteristics of one.

Obstacle Course
For the second animation, I wanted to try and make the ball move through a series of platforms with different elevations, and finally land somewhere.
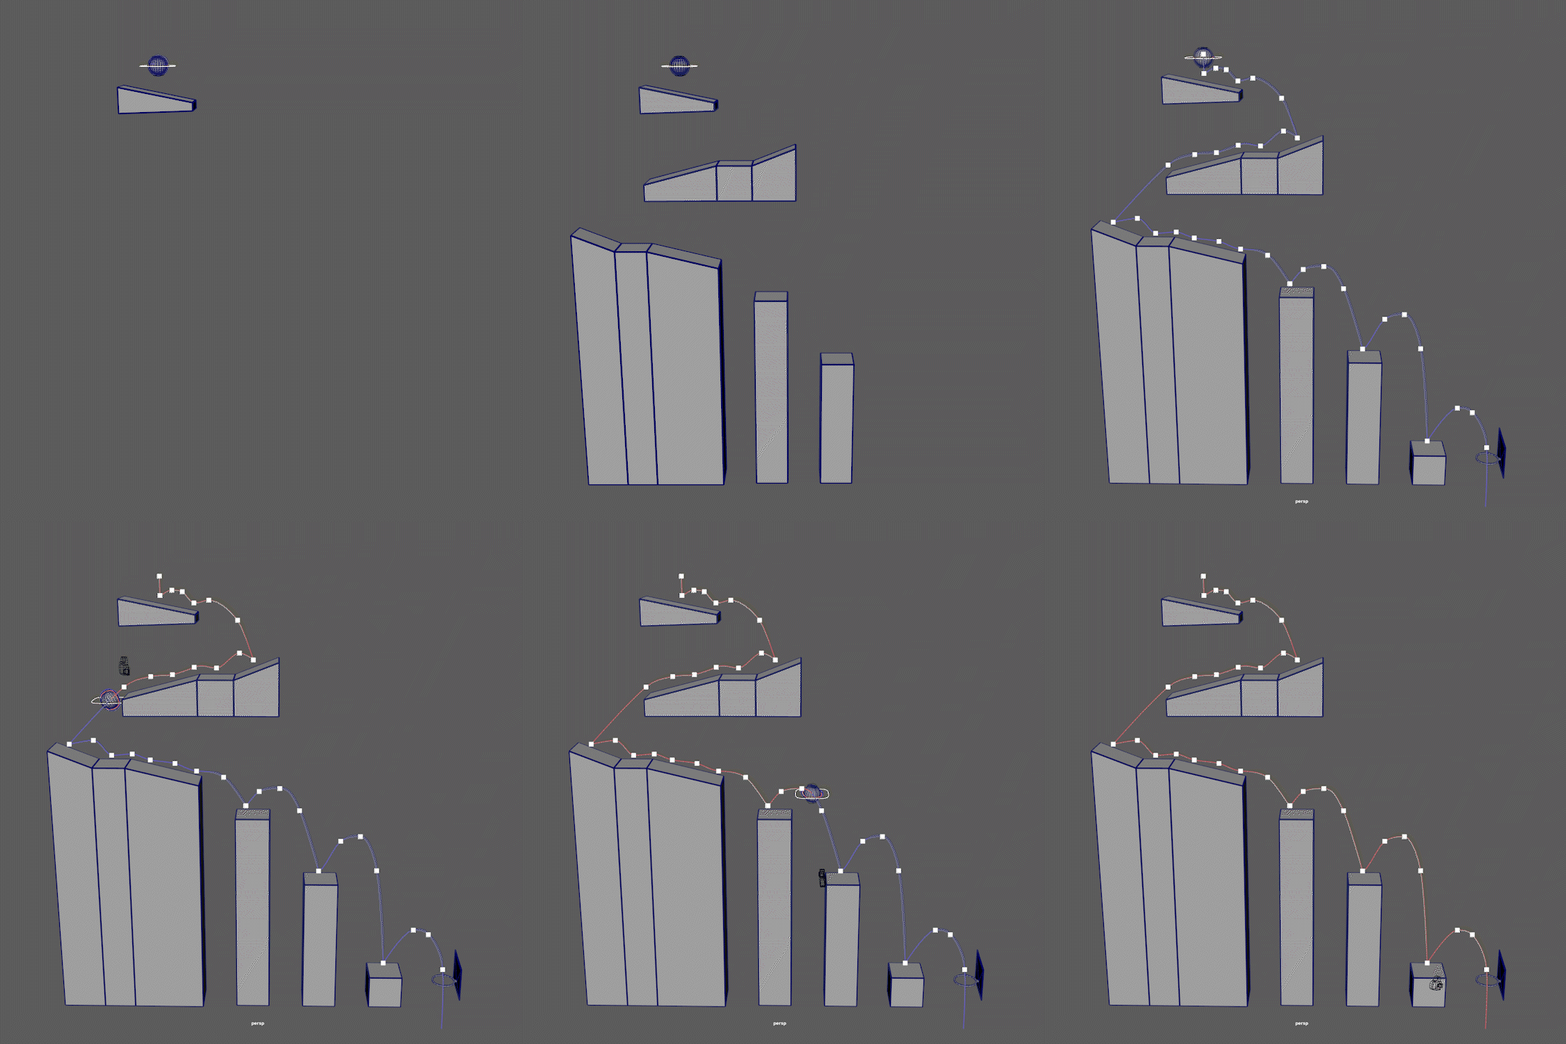
These were the platforms I chose for the ball to traverse.
As opposed to going forward and bouncing on some objects, I wanted it to change direction multiple times and make bigger and bigger bounces as it went along.
This time I animated the basketball closer to how it would move and behave realistically, having very minimal squash & stretch and making large bounces.
To help make animation, I used a feature called Visualise Motion Trail, which creates a line that follows the pivot point of my ball and lets me see if its movements are clear and "ball-like". It also facilitates editing its movements, as the line is changes in real time as changes are made.
As a personal touch and way to make the animation more visually interesting, i made it so every face the ball landed on as it bounces lights up with different colours as it touches them, including the basketball hoop in the end, which lights in a victorious golden glow.
This look was partially inspired by glowing club dance floors.
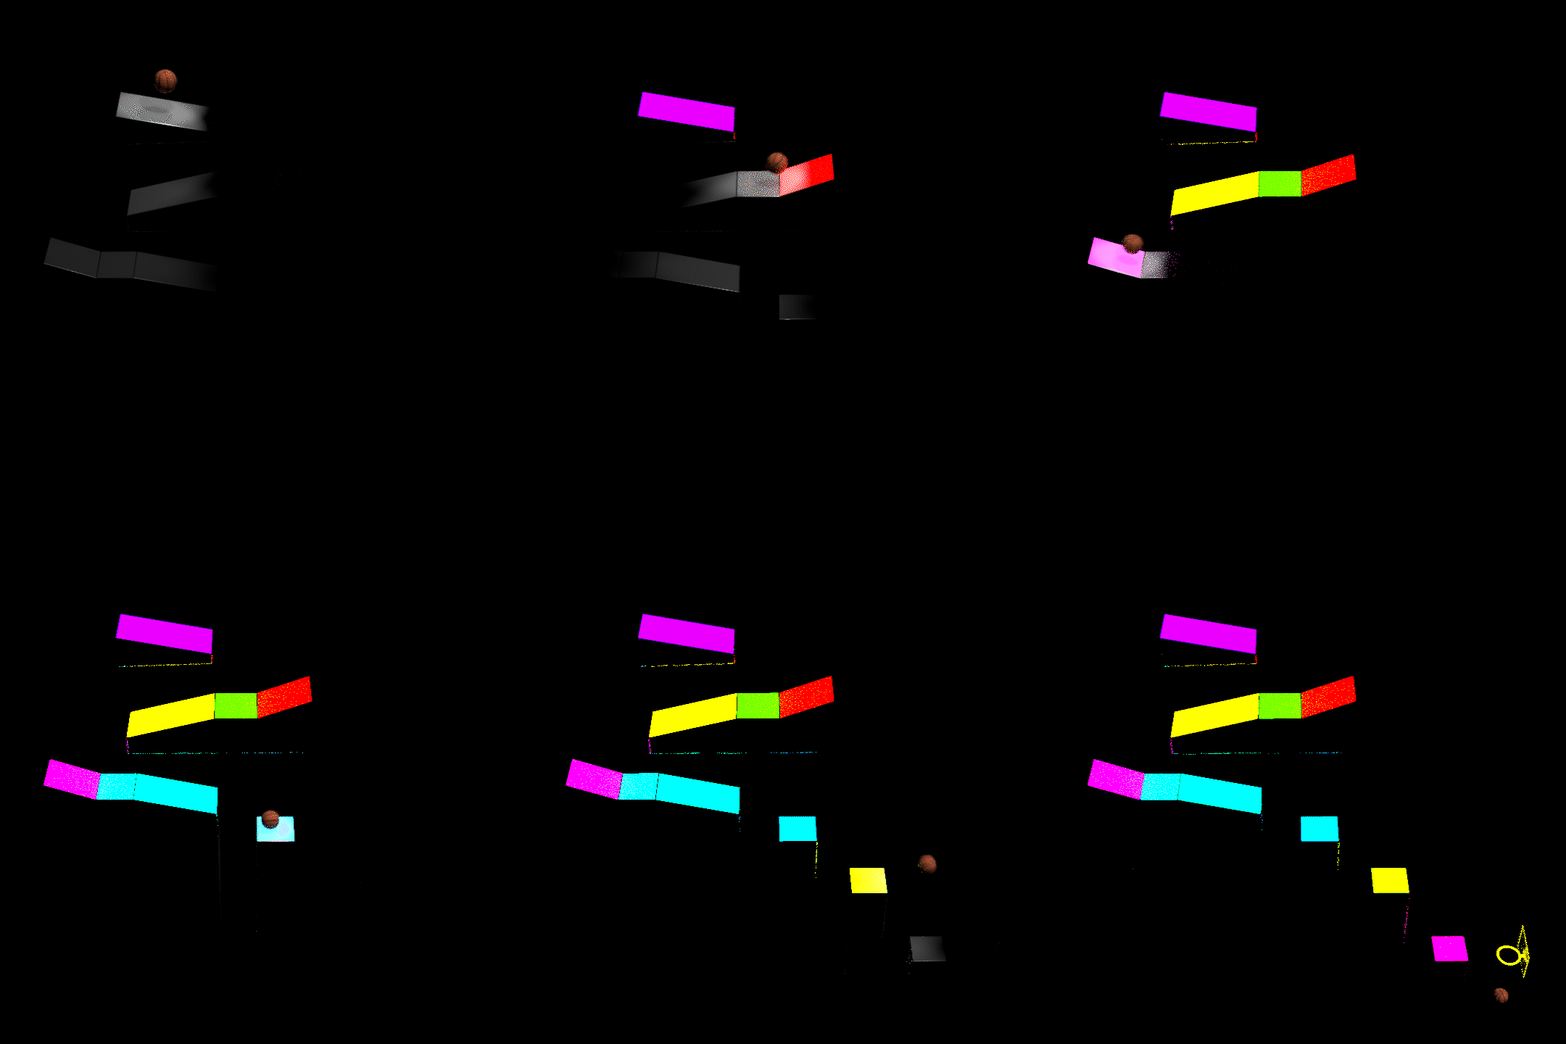
As for the final render, I wanted the camera movement to be minimal and unintrusive in the first half, but as the ball gets closer to the final hoop, the camera begins to track it and get closer, giving it a more dynamic movement and look.
E2: Basic Rig Creation (02/11/2021)
Since we've never created Rigs in Maya, we started off with the utmost basics: Rigging through parenting.
It consists of connecting different body parts to each other in a hierarchy. To use a finger as an example, the hierarchy would be:
Tip of the Finger -> Middle of the Finger -> Base of the Finger
That's the logic to follow when rigging this way, from the end of a limb it's base, or to where it connects to the body.

The rig on the left is what i ended up with by the end of the practice.
You can see that, as we developed the rig, from top to bottom, our techniques changed as we learned new methods of rigging.
For the legs we learned to use Rig Bones, the difference with them being that, instead of connecting body parts to each other, body parts get connected to bones, which themselves are connected with each other.
This allows us to create external controls, which help in making the rig easier to control and animate.
A major technique we used was Inverse Kinematics (IK) which ease the control of limbs like arms and legs, which need to bend a certain way.
Say you want to touch your chest with your hand. Your arm would have to bend for you to do that.
So, an IK makes it so moving hands and feet automatically control the arms and legs to bend accordingly, which speed up the animation process.
E3: Flour Bag Animation (06/11/2021)

For this exercise, a rig of a flour bag was given to us to use. The objective was to make a proper walk cycle and animate the bag moving.
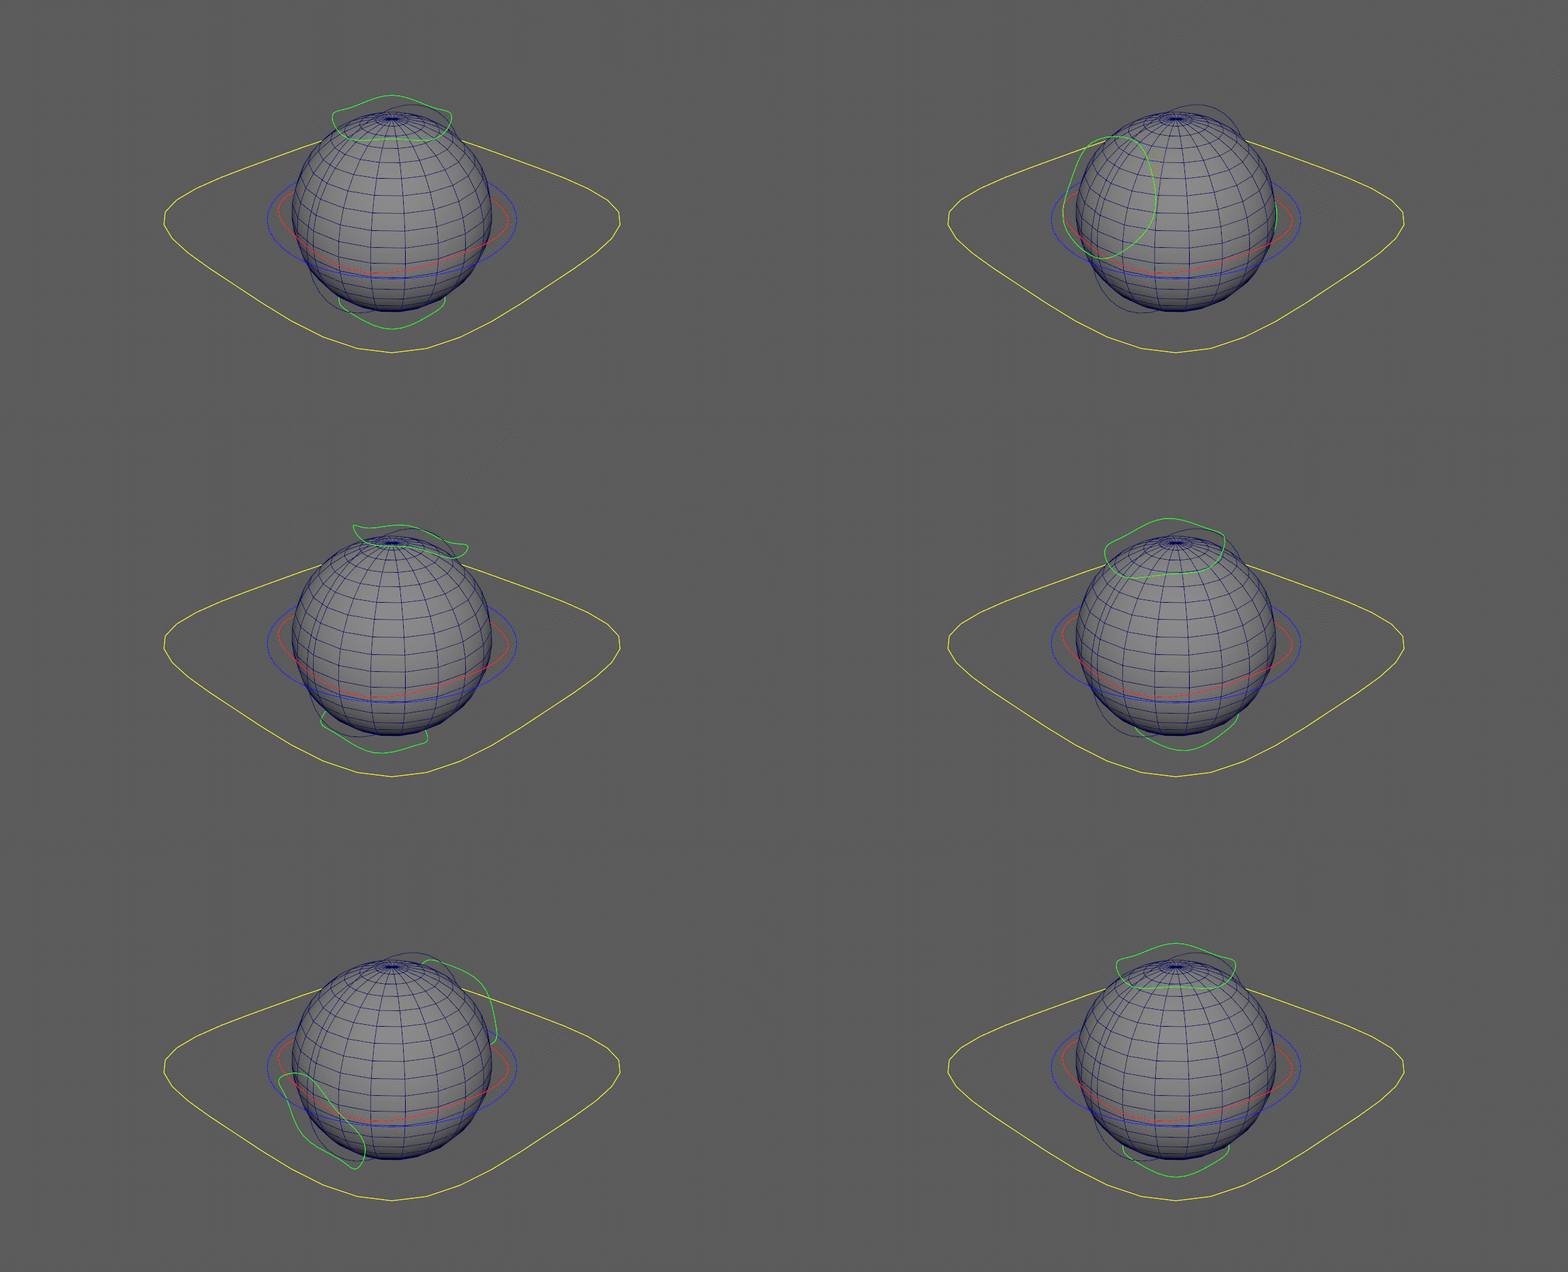
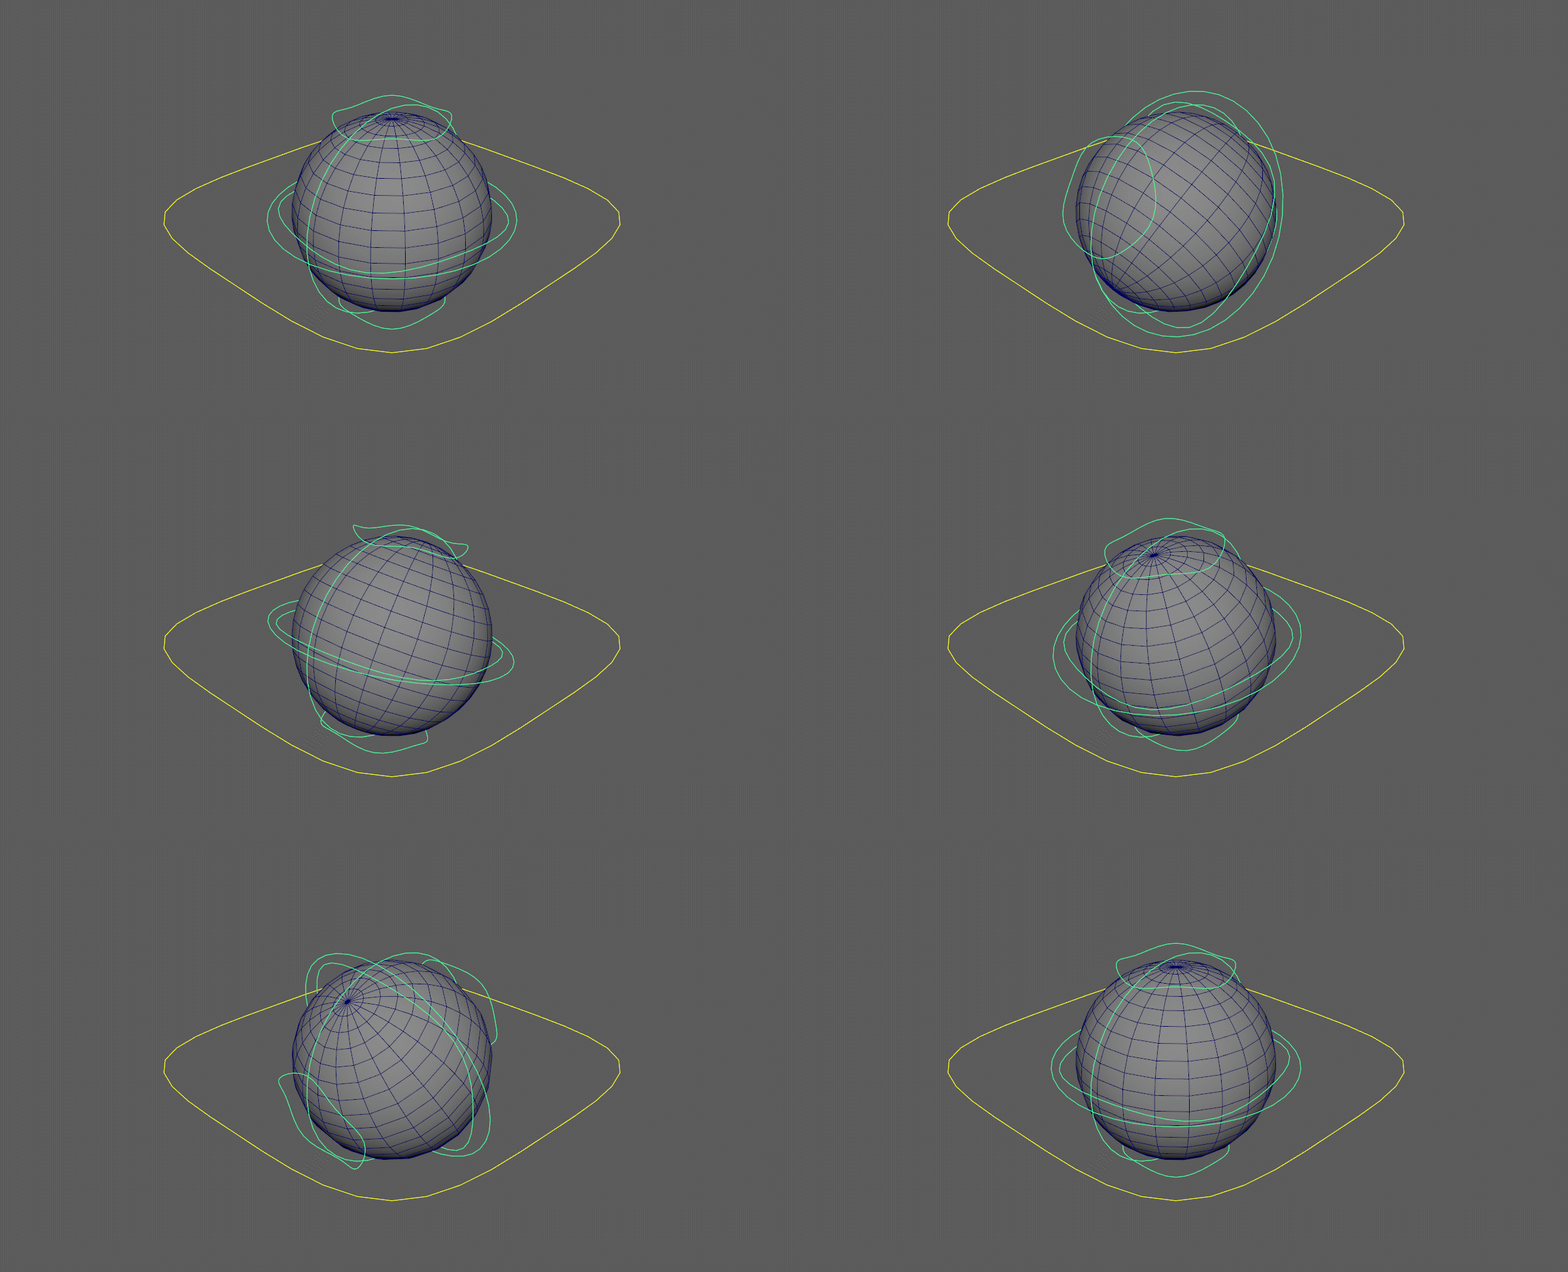
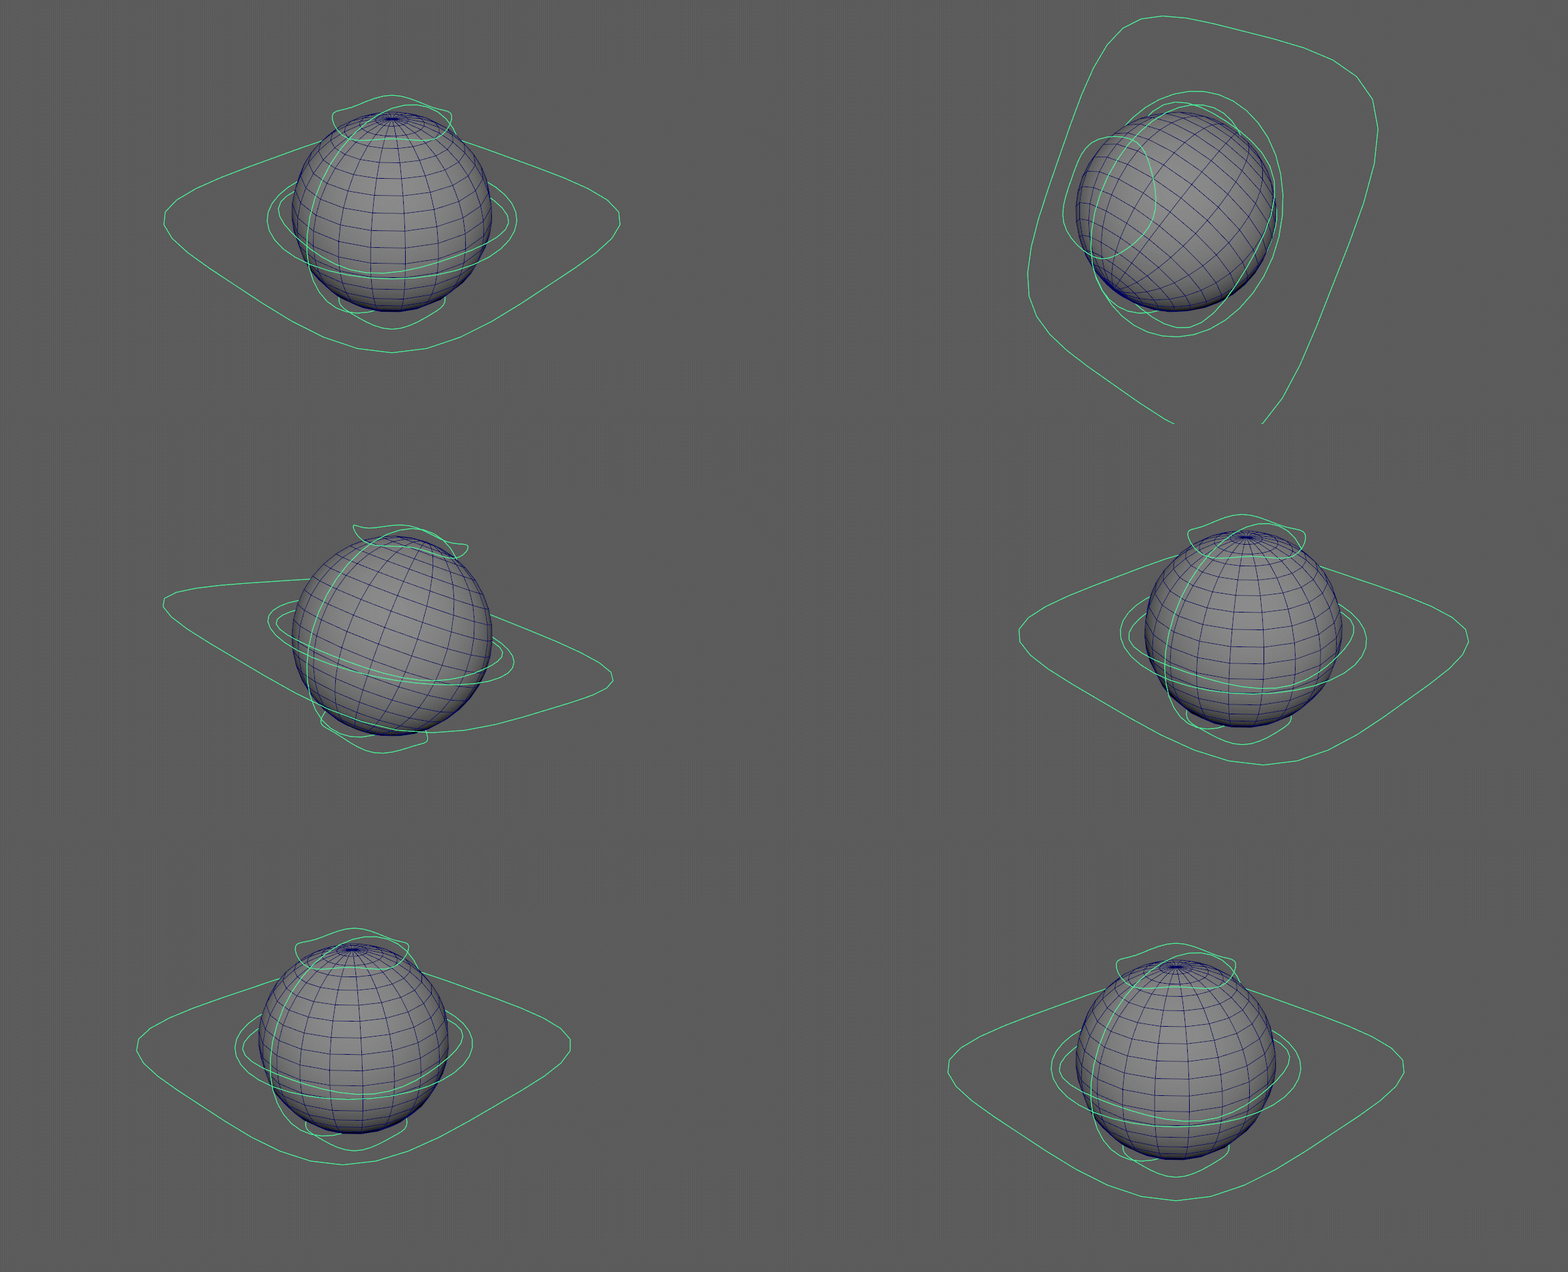
The rig we were given is complex and has too many controls to explain one by one, but the image on the left should make it mostly clear what does what.
Due to the complexity of the Rig, not much focus was put into visuals or the presentation, though I feel that the animation makes up for it.
My objective was to make the bag cartoonishly bounce around, so to help achieve this look, i used a push and pull technique to give the movements more weight.
Every time a part of the bag moves one way, everything connected to it gets dragged with it. This is most clear with the feet, which bounce the most when getting dragged by it's legs.
E4: 11 Rig Walk Cycle (05/12/2021)
For this and future exercises, we were provided with a proper rig, named 11 RIG, to more easily create necessary animations and get a feel for what a proper rig feels like to work with.
To start, we made a simple walk cycle.
Unremarkable, but a good starting point to practice the use of a rig.
Some simple things to keep in mind while animating were a clear silhouette, flowing movements and a feeling of weight and anticipation.
For a 24 FPS animation, it's a bit of a challenge to pack much detail into such a short time frame while making a conceptually simple set of movements, but i'm happy with my result.
E4: Sword in the Stone (12/12/2021)
This animation, which was made for the second assessment, involved making a short animation to show off what we've learned about animation and it's principles: Clear Silhouettes, Identifiable Poses, Weight mechanics and Anticipation.
I got the idea to recreate the sword in the stone legend, by having my character removing it from the stone.
I thought this would be a good way to show off all of the principles of animation, since I'd need to apply all of them to properly create the animation.

I modelled the sword to resemble the typical gilded and decorated sword that'd fit the inspiration behind the animation, though overall it's a very simple model with basic materials, after all, it's a simple prop.
The rock and the ground around it were made by using simple shaped, namely a sphere and plane and deforming them.
I wanted to add extra detail to the movements, by having the character stepping up the rock, positioning himself better to remove the sword.
I had trouble animating the actual removal, since it involved parenting the sword to the hand at the right moment and then making it so it can be fully removed without clipping through the rock and making the character stretch himself too much.
There's a small hiccup when the sword connects to the hand, though i was unable to fix it.
E4: 11 Second Animation (25/01/2022)
For our third assessment, we were tasked with creating an 11 second animation based off of a clip of our choice, be that a music clip or a video/movie clip.
I chose the infamous Spider-man 3 scene, where peter Parker confidently dances through the streets of New York.
Like the previous exercise, i feel like this is a good scene to recreate and practice my animation with.
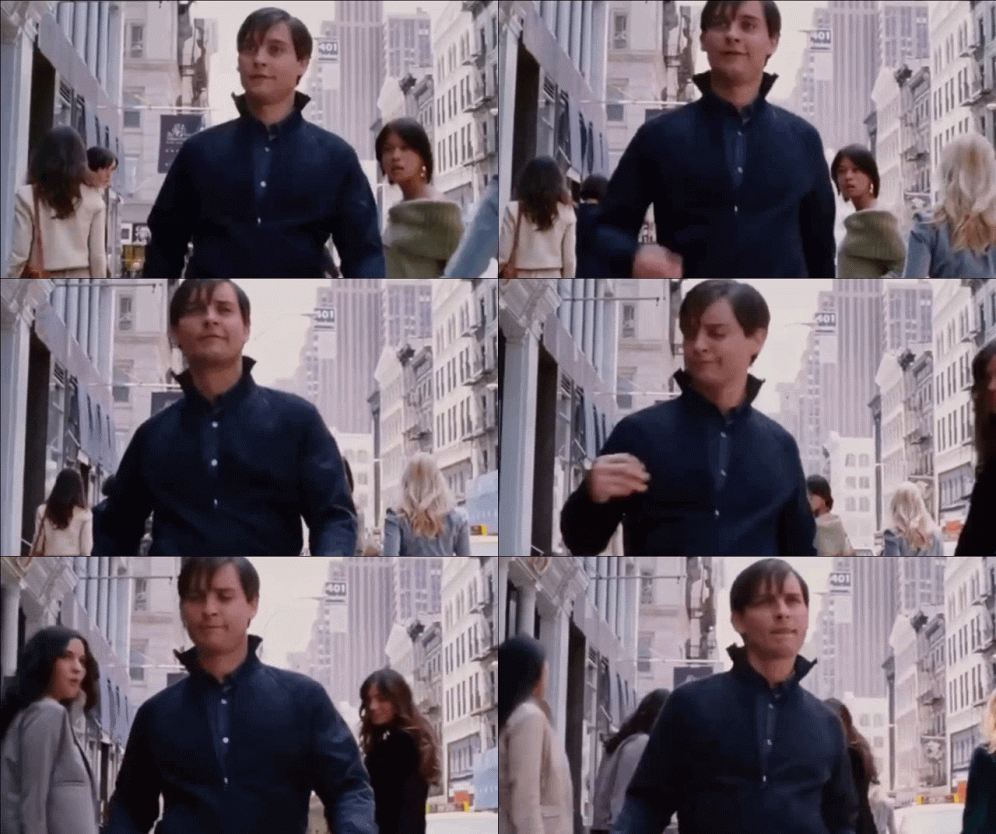
For this, i selected the clip shown below to use.
The whole process was relatively simple: i imported the clip into Maya to use as a reference, using it to line up the 11 Rig to the video, but due to the perspective of the shot, this made the process a little bit complicated, though as soon as the actor stops walking, it was smooth sailing from there, simply animating the rig to follow his movements.
I also took my chance to chance the colours on the model to try and match the outfit used in the movie clip.
In the end, this was the result:
For the sake of time, some changes were made, most significantly cutting the clip short before Peter starts to walk out of frame. That and minor changes to posing throughout the whole animation, due to the anatomy of the Rig used being cartoony, so the movements couldn't be perfectly recreated.

